Get started
From the entire PhysCode team, we want to personally thank you for purchasing MiniStore WordPress Theme! We’re incredibly excited to get it into your hands, and we invite you to check out our documentation below. We strongly encourage all of our customers to register at our member center for access to tutorials, our member forum, updates, and more!
Installation
To install our theme, you can do so in one of two ways:
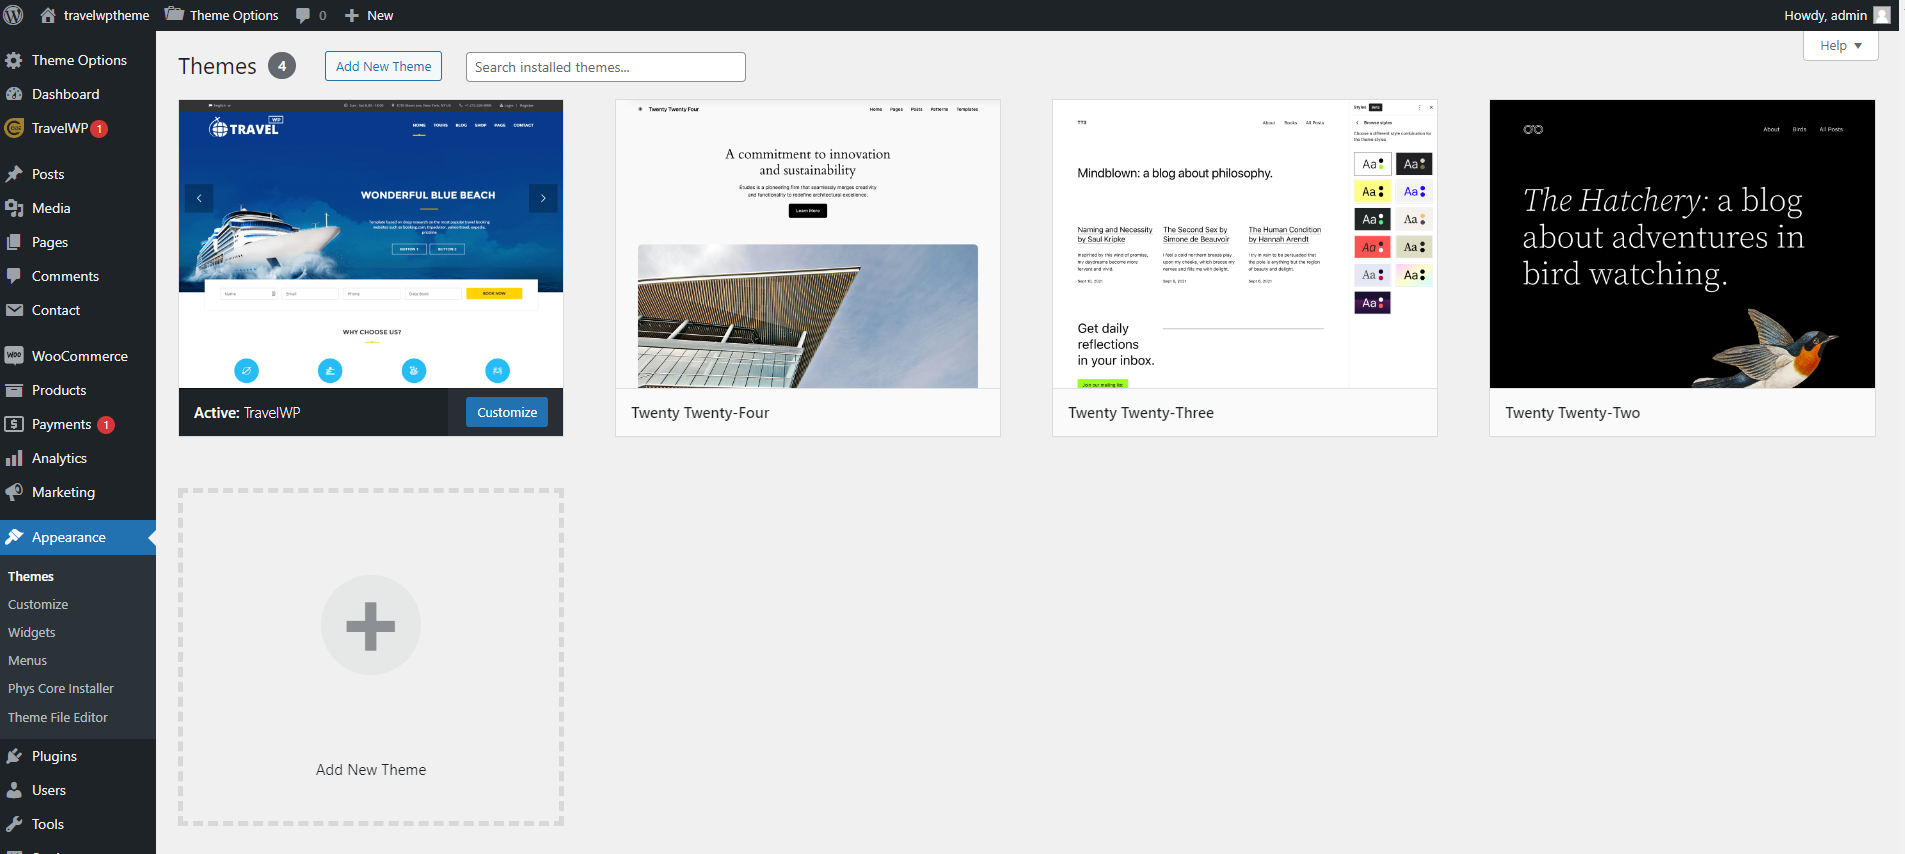
1. The Simple, No Brainer, Piece of Cake Way: Upload the ministore .zip file via the the WordPress Admin Panel. To do so, go to “Appearance” > “Themes” in the menu, then select the “Install Themes” tab at the top of the page. Once you are at this page, select “Upload,” then “Choose File” to locate the .zip folder on your computer. After doing so, select “Install Now.”
2. The Roll Up Your Sleeves and Use a Little Elbow Grease Method: Uncompress the ministore .zip file and upload the template contents to the /wp-content/ themes/ directory of your WordPress installation via your chosen FTP client.
Neither method has an advantage over the other, it is simply a matter of preference
Import Demo
The first way: Import by one-click
Go to “Theme Options -> Demo importer” then choose demo you want to import
Note: If your Website had WordPress Importer Plugin was Activated, please Deactivate this Plugin before executing Import.
The second way: Import by XML Files
Step 1: Go to Tools -> Import
Step 2: Choose “WordPress” if your site has not install import plugin yet then click “Run Importer”.
If your site installed import plugin you click “Run Importer”
Step 3: Choose XML file in “ministore/inc/admin/demo_importer/demo-data/…” folder from download package on ThemeForest then click “Upload file and import” button. EX: You can import Demo 1 you choose file content.xml in folder “ministore/inc/admin/demo_importer/demo-data/Video Slider”
Step 4: Import Revo Slider, You go to Slider Revolution -> Import Slider and Choose file .zip in “ministore/inc/admin/demo_importer/demo-data/…” EX: You can import Demo 1 you choose file video_slider.zip in folder “ministore/inc/admin/demo_importer/demo-data/Video Slider”
Step 5: Import Widget, You can install plugin “Widget Importer & Exporter” go to Tools -> Widget Importer & Exporter choose file “widgets.wie” in folder “ministore/inc/admin/demo_importer/demo-data/…” and import widgets.
Step 6: You go to Settings -> Reading in Front Page Displays choose A static page (select below)
Setup Menu
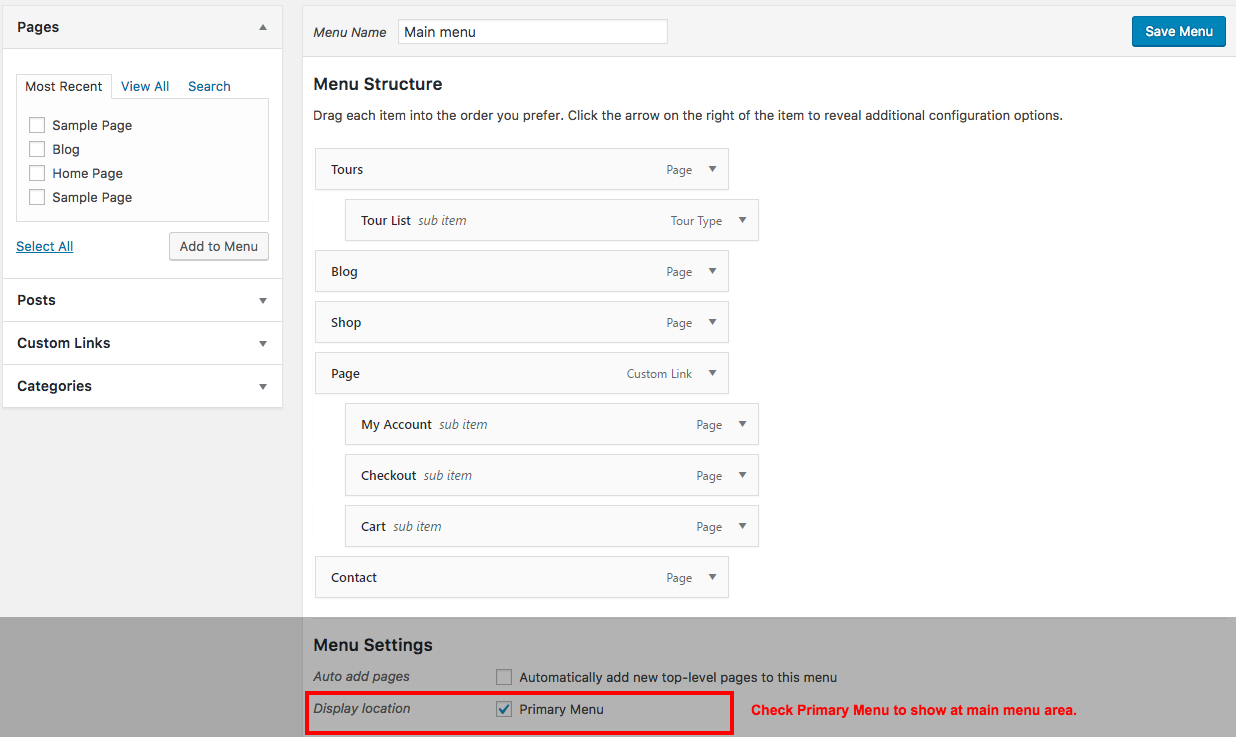
- Create a new menu
- Create menu items
- Check Primary Menu
You need to check “Primary Menu” to show the menu at main menu area.
Theme Options
All site setting will configuration in theme options. So you need to understand all options before start configuration your site.
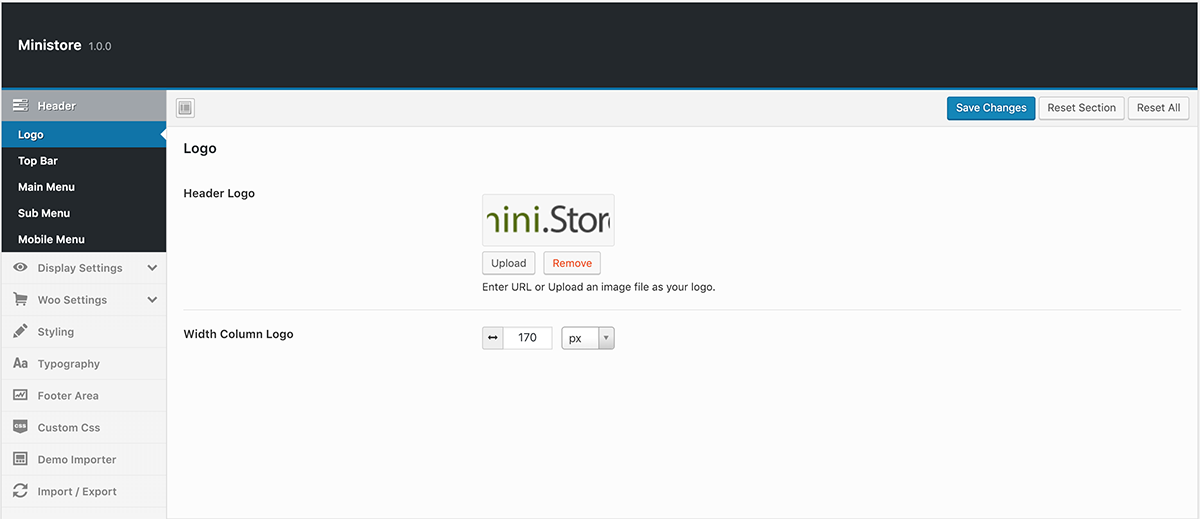
- Header
- Logo & Header Right: upload logo config size for logo show icon search, wishlist, login, cart ……
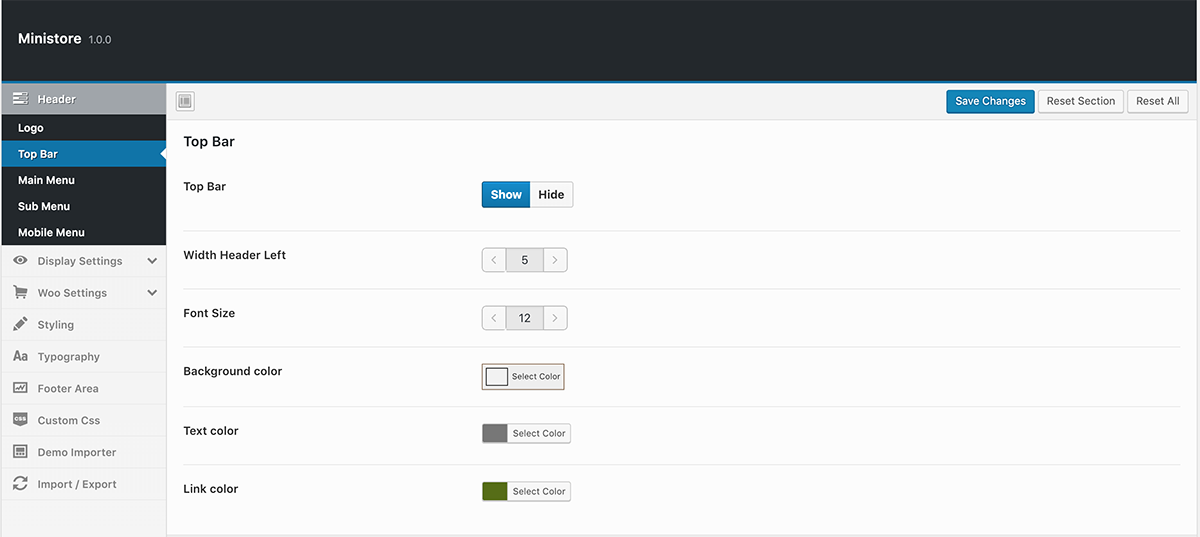
- Top Bar: Show or hide top bar, you can config background, text color ….
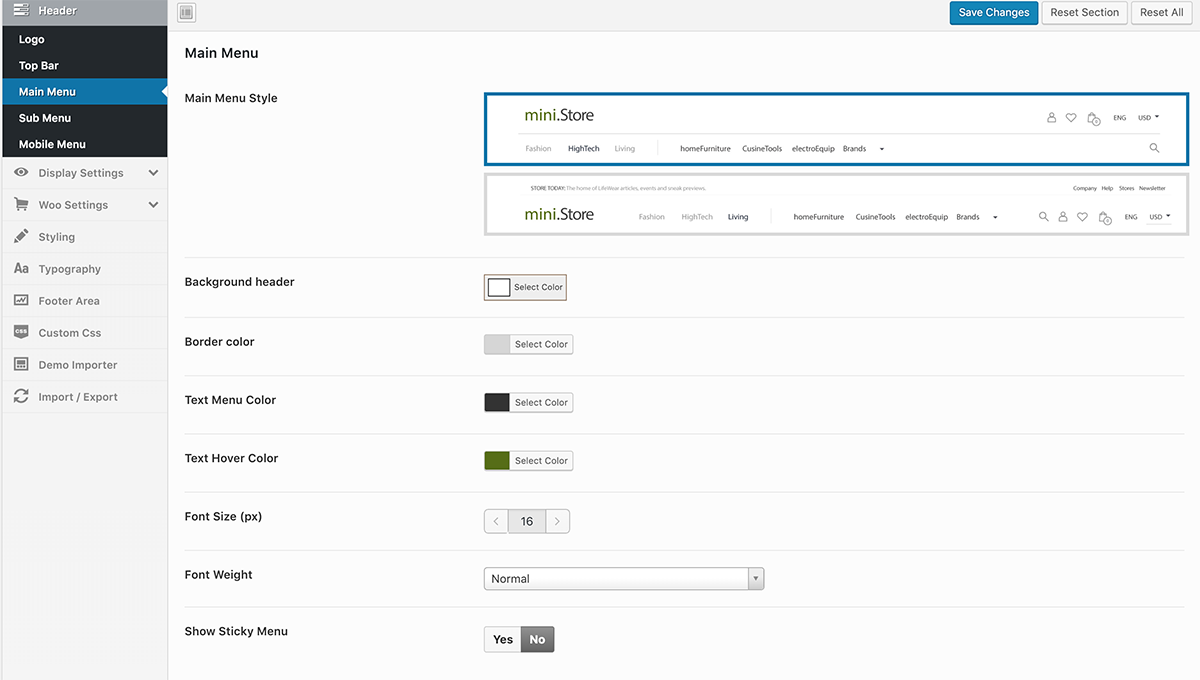
- Main Menu
- Sub Menu – Mobile Menu
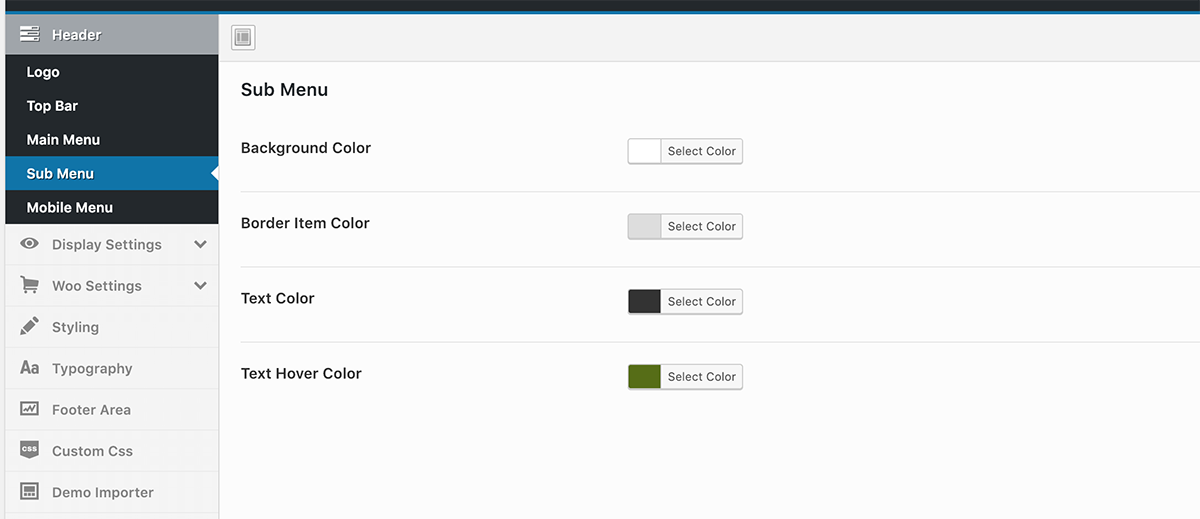
- Logo & Header Right: upload logo config size for logo show icon search, wishlist, login, cart ……
- Display Settings
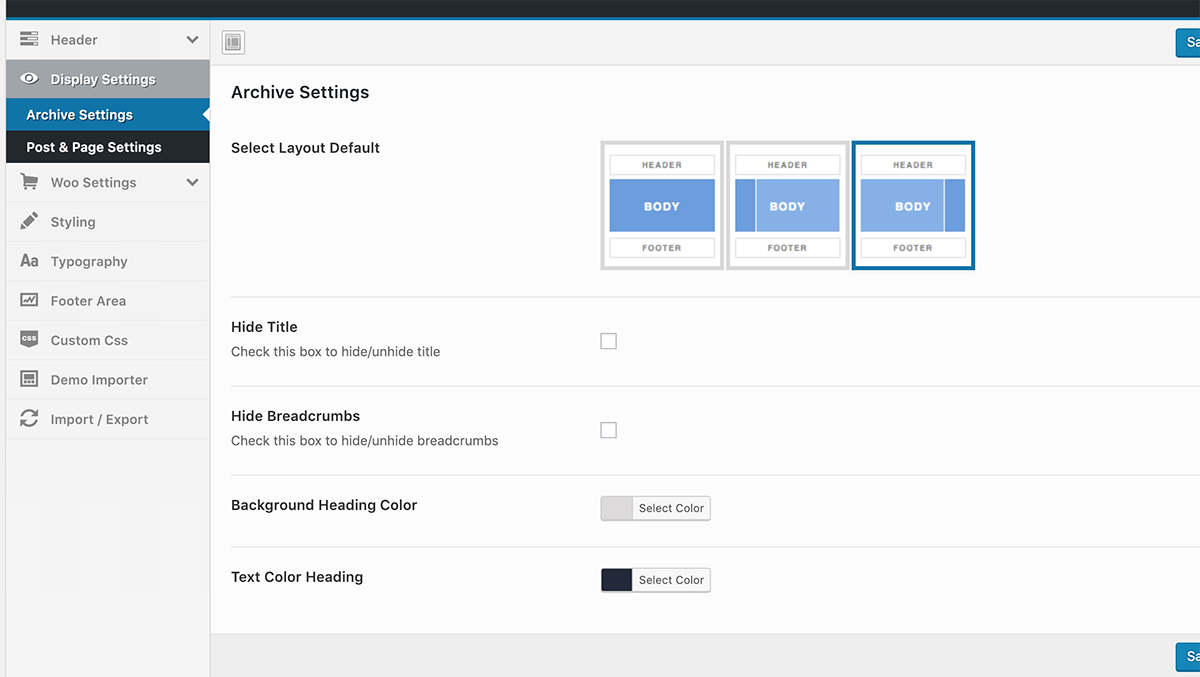 No 1,2 is configurations for Blog page
1, You can set blog page with sidebar left, sidebar right or no sidebar.
2, Set Background color for blog page heading area and set text color
No 3, 4 is configurations for Archive page. Configurations is similar as Blog page
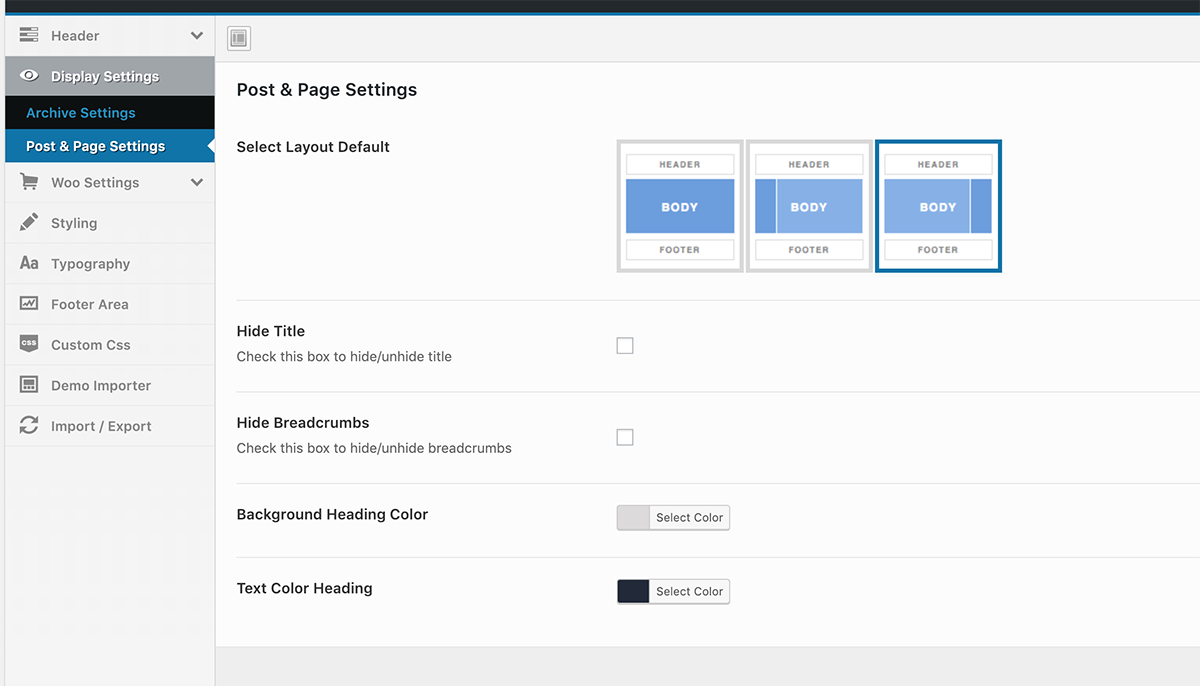
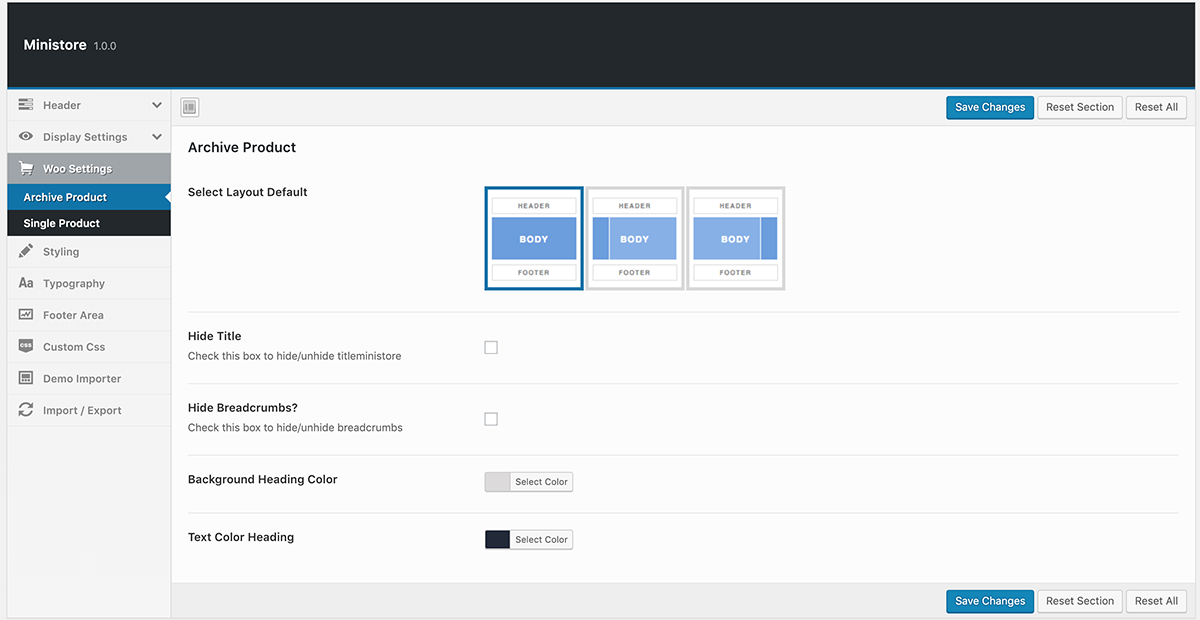
No 5,6 is configurations for single post or page. - WooCommerce
- Styling
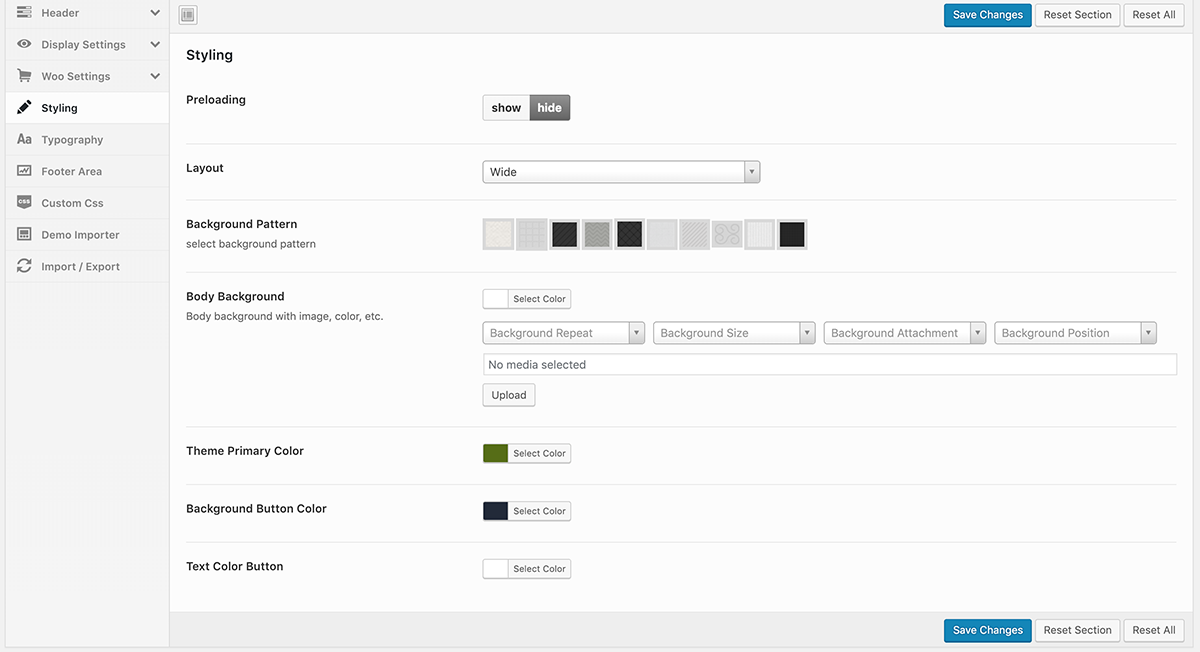
- Typography
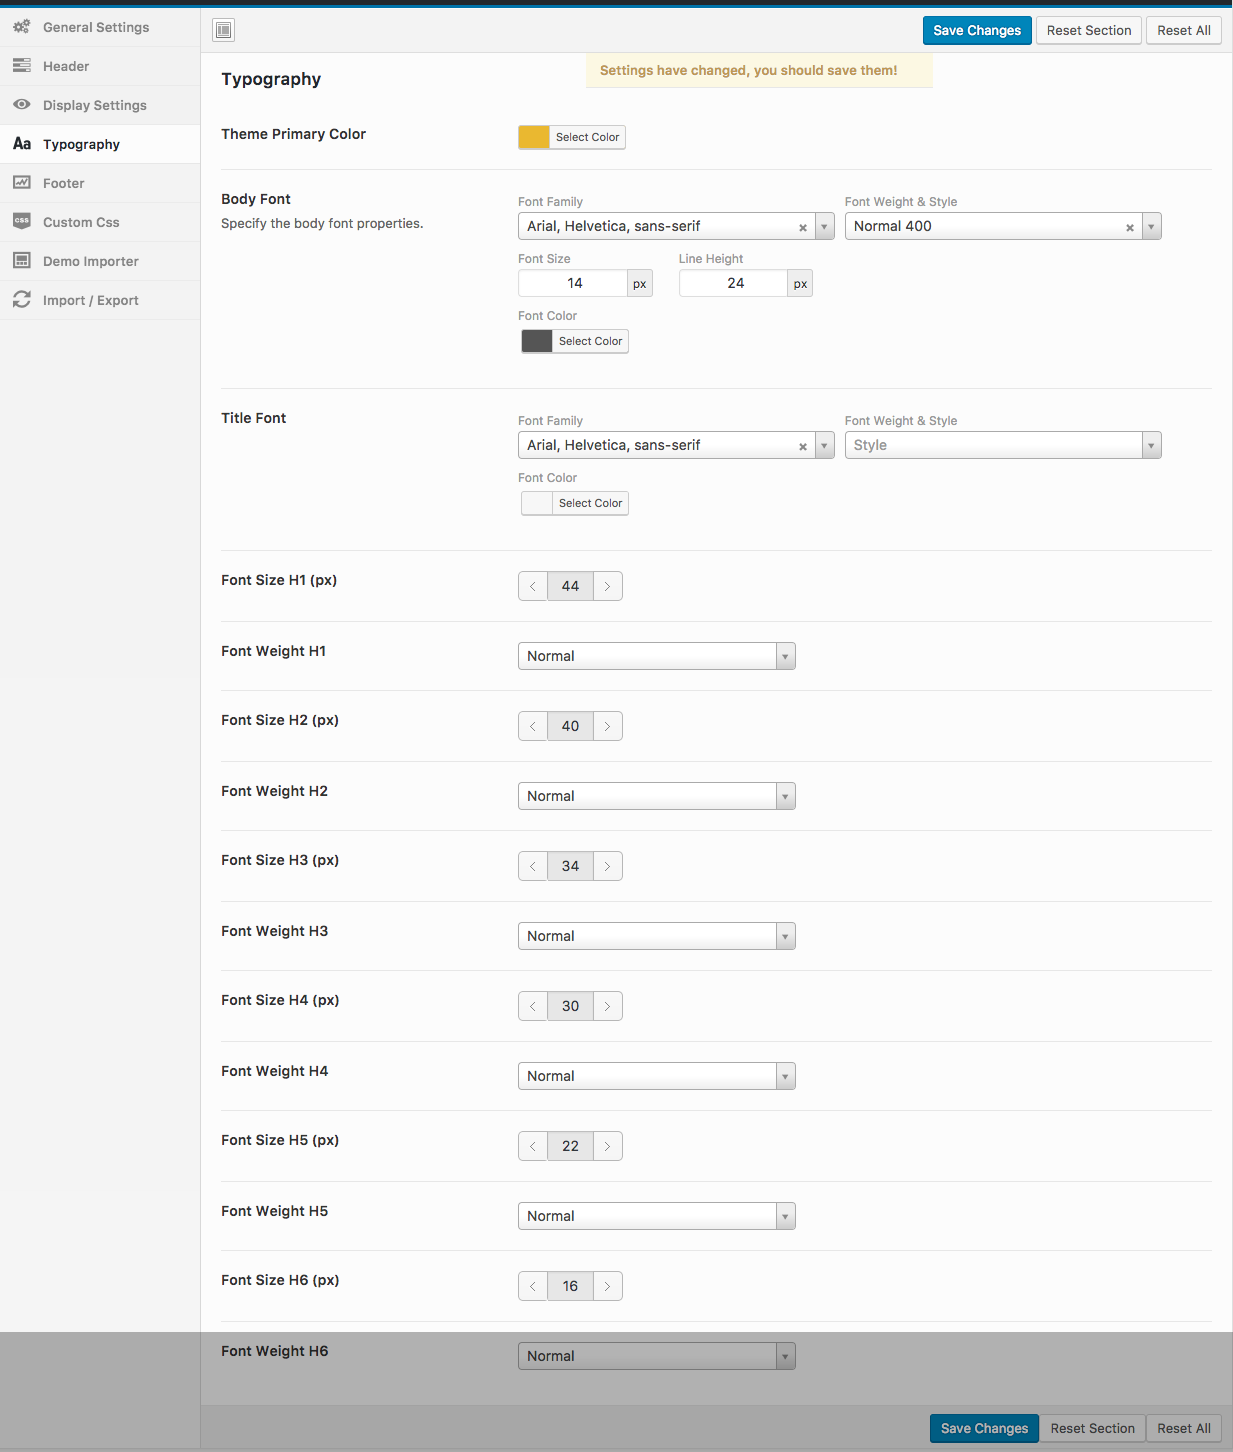 In typography settings, you can set primary color. The color will active to active menu, hover and heading H1, H2, H3 ..
Beside you also can set font body, font title and font size for your site. - FooterThe section contains settings for footer: Background Color, Text Color, Font Size, Title Color and Font Size Title
- Custom CSS
If you want to make some custom CSS you can insert them to CSS Code box. - Demo Importer
You can import our demo data with only one click. Your site is similar as our demo so you only need to change data to run your site. - Import / Export
You can import or export all settings from Theme options or to Theme options. Please sure about Import action because all settings will replace by new settings.
Update Theme
The latest theme update information will be displayed in Dashboard -> TravelWP. At the same time, you can also update the theme there.
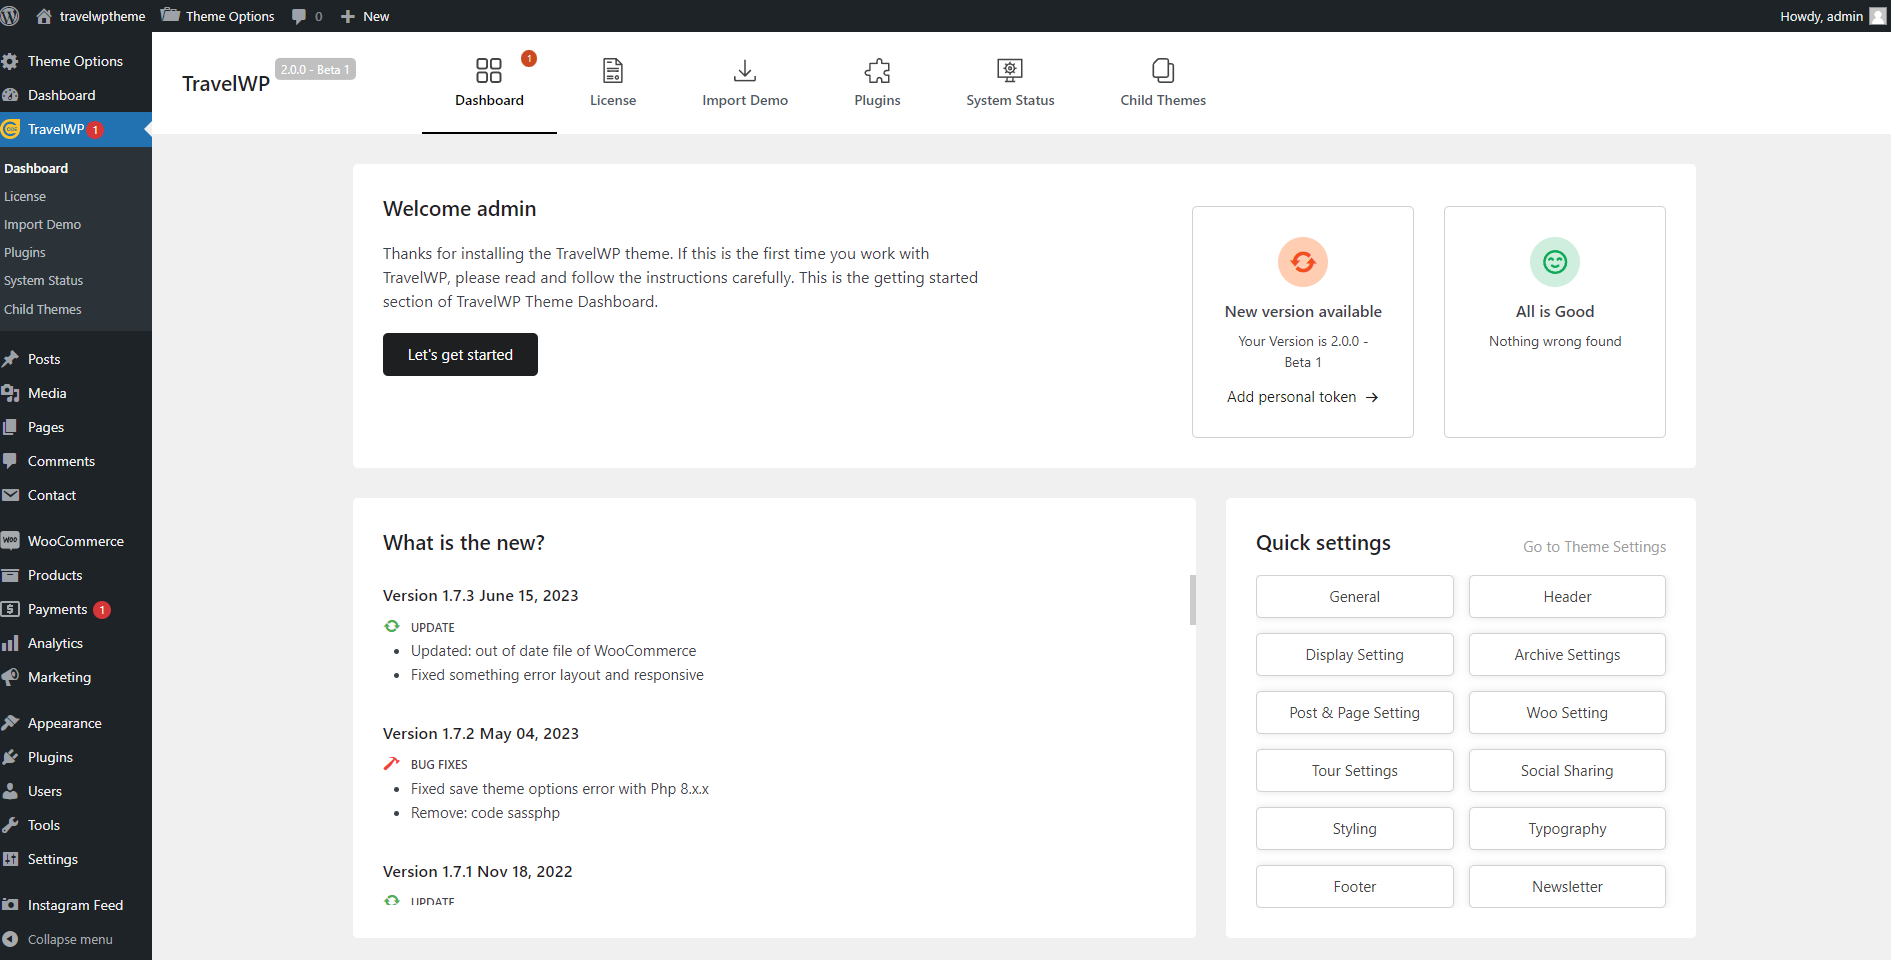
Additionally, you can also update the theme in Appearance -> Theme.
How to activate Revolution Slider, Visual Composer
How to update plugin visual composer
Update Visual Composer:
- Go to Plugin -> Deactive plugin Visual Composer
- Click to Update Require
- Active plugin Visual Composer