Plugin installation
There are 2 ways to install a WordPress plugin:
- Using the WordPress installer
- Uploading the plugin via FTP
A. Using the WordPress installer
- Go to Plugins > Add new
- Click Upload
- Select the travel-booking.zip file
- Click Install now
- Once the plugin has been installed click Activate Plugin
B. Uploading the plugin via FTP
- Upload the travel-booking folder into the wp-content/plugins/ folder on your server
- Once the plugin is uploaded log into WordPress and go to Plugins
- Find the Travel booking plugin and click Activate Plugin
Plugin updates
In order to add new functionalities, to stay up to date with the WordPress software evolution, to correct bugs, Travel Booking plugin is regularly updated.
There are 2 ways to update the plugin:
- Automatic update
- FTP update
Whatever method you choose, you should backup your website. Is is not compulsory but backing up periodically your entire installation (entire directory structure + database) is a good idea, especially before making any update to themes, plugins, core files, etc. Learn more about backups here.
Automatic update
When a new version of Travel Booking is released you will see a notification on the plugins page and you will be able to update the plugin.
Please follow as the article.
FTP update
- Go on the Downloads page of CodeCanyon and download the plugin again (when you download the plugin you always get the latest version available)
- Unzip the plugin (you need to get an unzipped Travel Booking folder that can be uploaded on your server later on)
- Go on the plugin page and deactivate Travel Booking plugin
- On your server delete the travel-booking folder which is located in wp-content/plugins (note that this will not delete the travel-booking settings since they are stored in your WordPress installation).
- Upload the travel-booking folder you have just unzipped into the wp-content/plugins/ folder
- Go on the plugin page and activate Travel Booking plugin
Notifications of an update release via CodeCanyon
If you want to be notified by email when a new version of Travel Booking is released you can check the box Get notified by email if this item is updated on your Downloads page on CodeCanyon.
Tour Settings
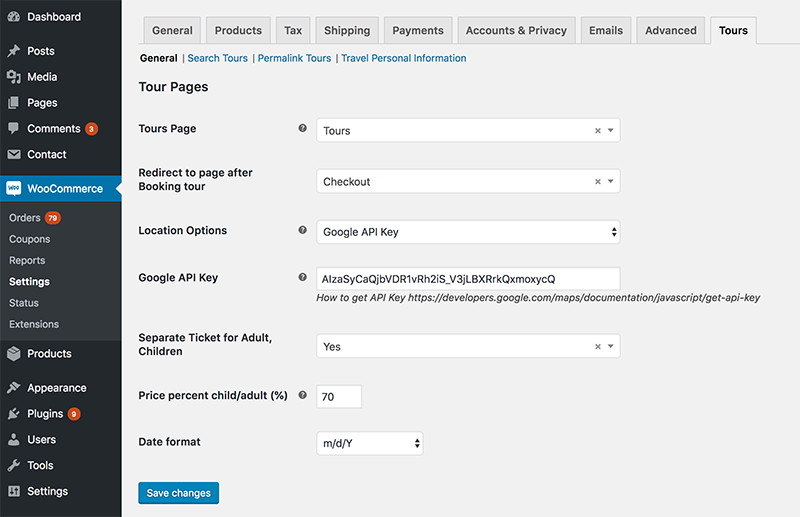
To Tour Settings page you go to WooCommerce -> Settings-> Tours. You will see “General” and “Search Tours”
-
- General settings.
– Tours Page: this page will show all tours on your site. You need to create a page and choice it in this option.
– Redirect to page after Booking tour.
– Tour Expired: This option allows showing expired tours on tour page or no.
– Location Options: Config Google map use iframe of google map or use google map with Latitude and Longitude
– Google API: You need to configure Google API key to set google map width latitude and longitude for each tour.
– Separate Ticket for Adult, Children: If you want to set separate tour price for children and adults. You need to turn on this.
– Price percent child/adult (%): You can set rate price child per adult to here. The system will auto calculate children tour price based on adults tour price.
- Search Tours settings.
At that has only one option to configure attributes that will show in search form.
- General settings.
How to create a tour
To create a tour you go to Products and click Add Product.
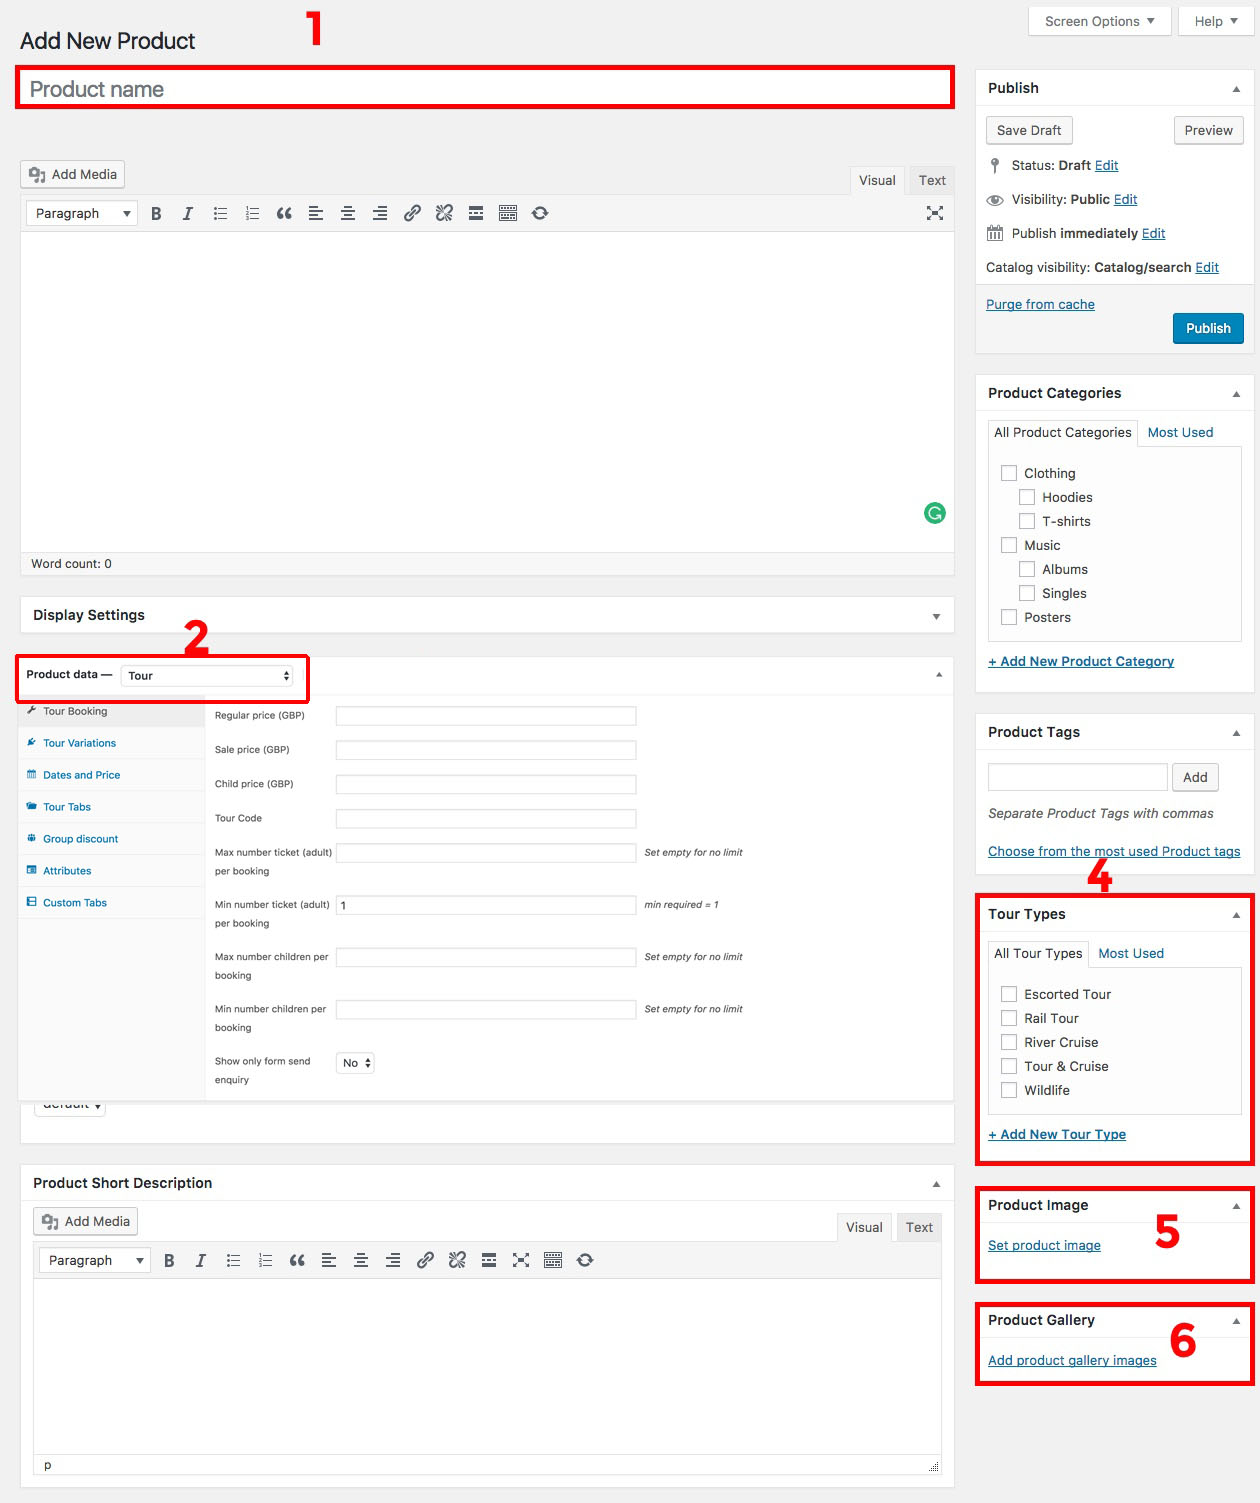
- Tour name
- You need to select product type that is tour and interesting in some tab as image above.
– In Tour Booking, You can input regular price and sale price and child Price.
– In Tour Tab, You can config Interary and Location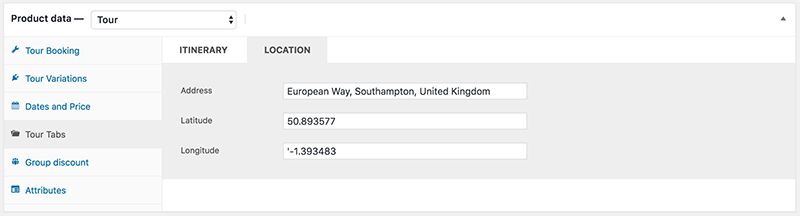
– Dates and Price: Config date disable and set price for date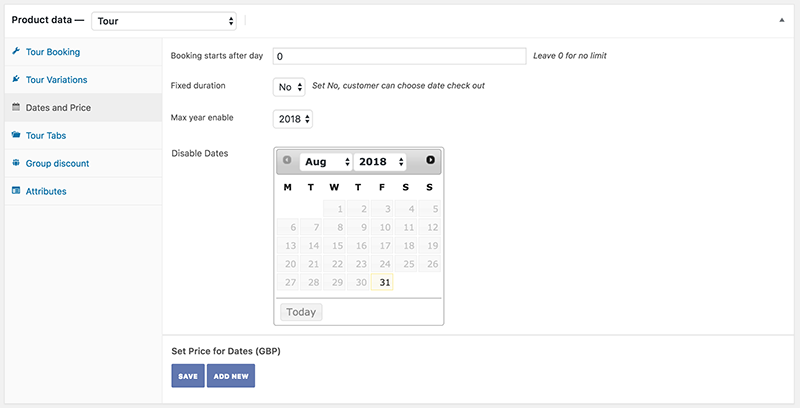
– Tour Variations: You can add more variations for tour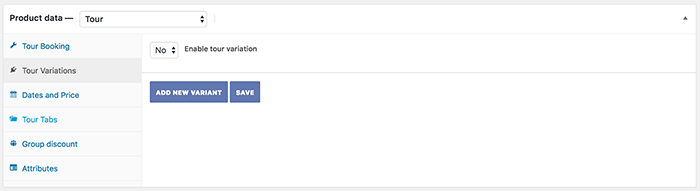
– Group Discount: If you create 2 discount boxes, and for the first box, you set up 5 customer with 10% discount and for another box, 10 customer with 20% discount. When customers book smaller than 10 travellers, they will get 10% off. However, if they book for 10, 11, 12 ( and so on ) customer, they will get 20% off.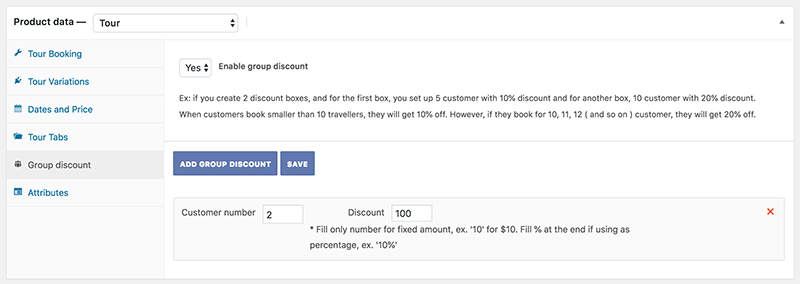
– In Attributes, you can set attributes for the tour